
maya python 简易教程和B站maya TD
开篇介绍
真正复杂的东西“东西”很少,但是复杂的“组合”却是很多。复杂的“组合”往往需要自己创造,发挥自己的想象力吧。
Unicode 字符串
在Python2中,普通字符串是以8位ASCII码进行存储的,而Unicode字符串则存储为16位unicode字符串,这样能够表示更多的字符集。使用的语法是在字符串前面加上前缀 u。
在Python3中,所有的字符串都是Unicode字符串。
第一个简单代码
1 | import maya.cmds as mc |
吸附工具
1 | import maya.cmds as mc |
批量添加前缀后缀工具
1 | import maya.cmds as mc |
看了另一个教程的修改版本:
介绍一下:这个工具修改了之前添加前缀名工具的一个bug,就是当出现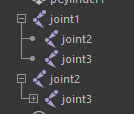 这种不同级别物体名字相同时依然可以正确的通过工具添加后缀。
思路就是通过长名判断oldName,然后通过shortname=name.split(“|”)[-1]命令得到短名,配合前后缀得到newName,这样就不会出现一个名称有多个匹配对象的bug了
1 | import maya.cmds as mc |
对文本进行操作
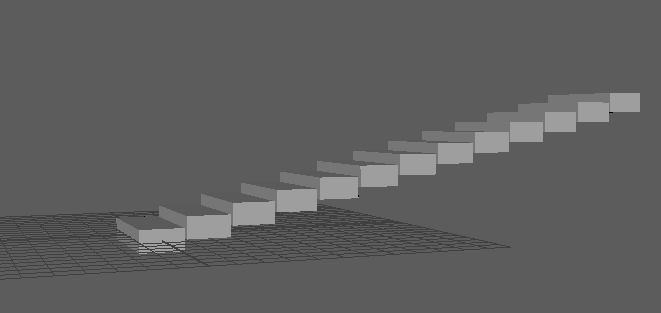
将当前所选择的物体的位置坐标导出成文本文件。
1 | import maya.cmds as mc |
最终结果是在d盘根目录生成一个posInfo文本文件,里面数值为选择的物体的参数属性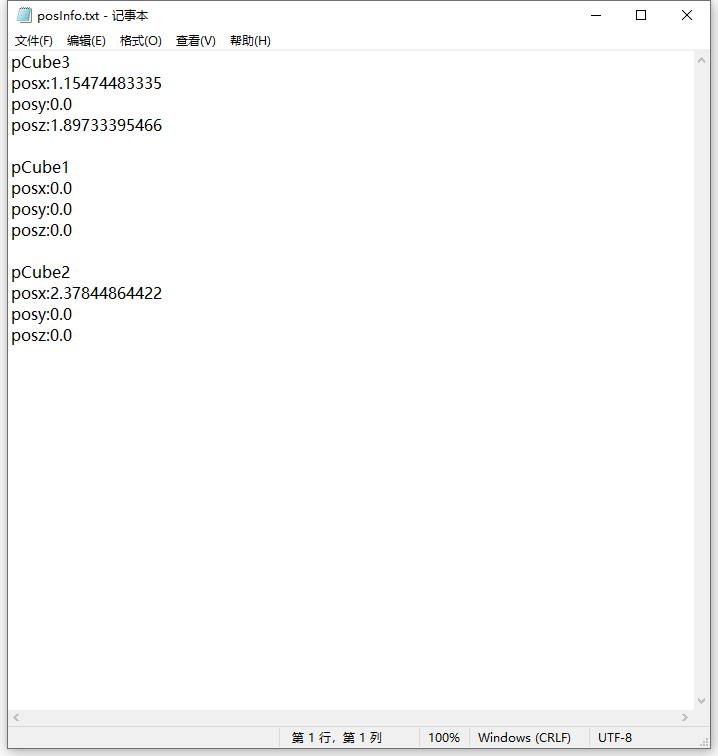
带窗口带输入框的加前缀名工具
1 | import maya.cmds as mc |
自动根据物体类型添加后缀名
思路是通过cmds.listRelatives(obj,children=1,fullPath=1) or []命令得到物体的子物体的名字(pCube1的子物体的名字为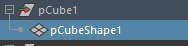 ,joint没有子物体返回空列表)。
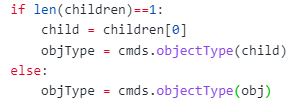 有子物体的就判断子物体的类型,没有子物体的就判断物体本身的类型。之所以这样得到不同物体的类型是因为例如pCube通过objectType得到的类型为transform,而通过得到它的子物体(pCubeShape)得到的类型为mesh,能更好的区分。
如果想再细分物体类型(曲线,灯光等)就在下面加判断语句。
1 | # -*- coding:UTF-8 -*- |
改进版介绍: 将类型以及对应的后缀名通过字典存取,(通过字典存取的好处是,如果想要增加其他类型的后缀名可以直接针对字典进行操作而不需要再使用if语句判断了。)通过SUFFIXES.get(objType, DEFAULT_SUFFIX)获取对应的value,通过更改为函数形式,可以通过导入的方式,直接调用函数,并可以指定是否使用选择模式。
1 | import maya.cmds as mc |
齿轮工具
创建齿轮工具gearCreator
1 | import maya.cmds as mc |
返回值:
创建齿轮并可以修改齿轮
前言:
创建好的齿轮如果只是单纯的更改它的细分会造成: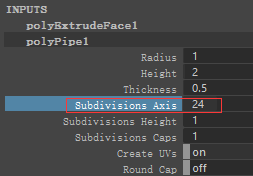 这种奇怪的效果
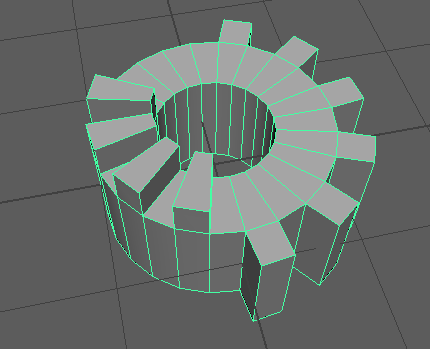 ,原因是因为上面的polyExtrudeFace1,因为polyExtrudeFace1挤出命令是根据获得齿轮中的面id(inputComponents)来执行挤出操作的,但是如果更改了细分数挤出命令节点就不知道要编辑哪个面了。
因此修改齿轮的思路就是:
首先将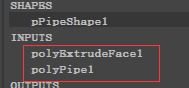 polyPipe1的细分以及长度根据数值更改
然后将polyExtrudeFace1的inputComponents属性进行更改使挤出命令节点能够正确识别细分后的面。
mc.setAttr(‘%s.inputComponents’ % extrude, len(faceNames), *faceNames, typ=“componentList”)这个命令是重新设置inputComponents属性,len(faceNames)代表要进行操作的面的数量,*faceNames意思是将存取面ID的列表解开,最后指定类型为组件列表。
1 | import maya.cmds as mc |
使用类来实现齿轮工具
通过类实现就可以通过实例变量将创建齿轮函数与改变齿轮数量函数之间创建联系。
1 | import maya.cmds as mc |
带UI的创建齿轮工具
1 | import maya.cmds as mc |
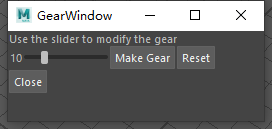
可以通过滑动条更改齿轮的齿的数量。
中间帧工具
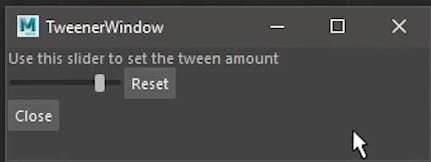
介绍一下这个工具,这个工具会读取当前时间轴左右两边的关键帧,利用滑块控件设置最左边的数值为当前时间轴的左边的帧的大小,最右边的数值为当前时间轴的右边的帧的大小。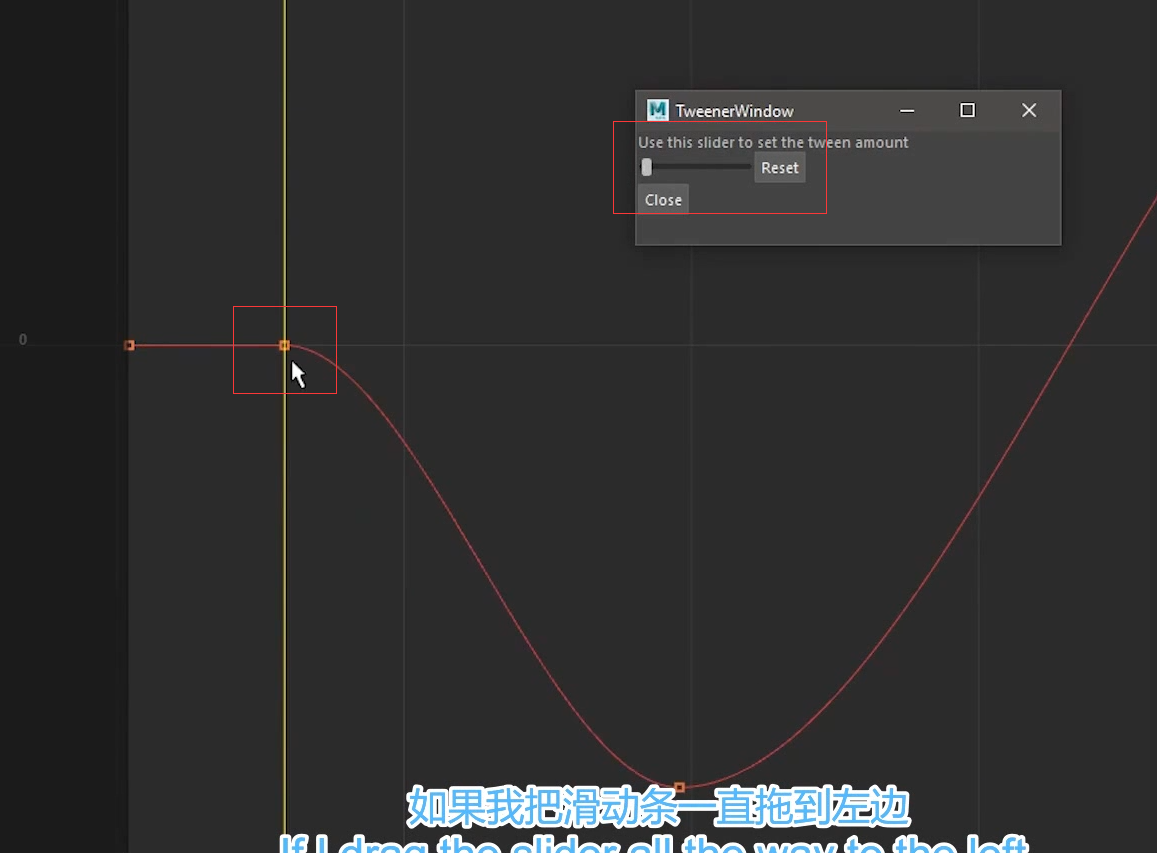
无UI版
1 | import maya.cmds as mc |
调用时只需要使用tween(100) 其中100代表的是百分比。
添加UI
1 | class TweenWindow(object): |
组合并使用
1 | import maya.cmds as mc |
contrary library UI(控制器库工具)
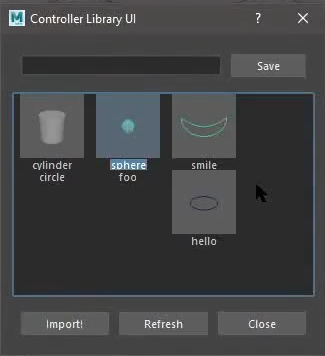 将学习对文件的操作以及通过播放预览(playblast)命令得到缩略图,以及通过PySide2来完成UI的制作
maya文件操作以及播放预览(playblast)
USERAPPDIR的路径是:C:\Users\Admin\Documents\maya
DIRECTORY的路径是:C:\Users\Admin\Documents\maya\controllerLibrary
**info的作用:调用方法时接收自定义的字典信息(不需要大括号) 然后以字典格式存储信息。
1 | from maya import cmds |
PySide2 for maya
使用showUI方法时需要使用一个变量来接收showUI方法的值,不然会因为python的垃圾回收机制错误的将窗口删除而导致窗口一出现就消失。
get() 方法 Vs dict[key] 访问元素区别
**get(key) **方法在 key(键)不在字典中时,可以返回默认值 None 或者设置的默认值。
dict[key] 在 key(键)不在字典中时,会触发 KeyError 异常。
1 | import json |
lightingManager
源码:https://github.com/dgovil/PythonForMayaSamples/blob/master/lightManager/lightManager.py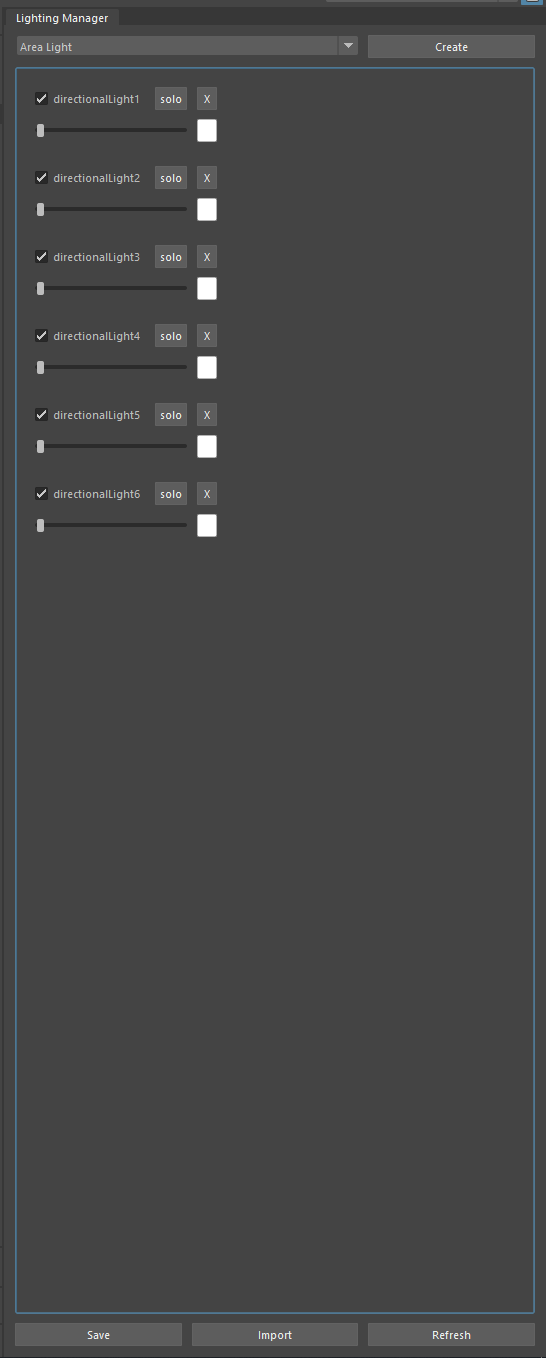
知识点:
partial函数
from functools import partial
通过partial可以通过一个已有的函数,快速创建出一个根据这个已有的函数扩展的新函数。
通过partial可以只使用一行代码就可以实现调用函数并传递参数来创建对应类型灯光。
partial函数的名字叫偏函数。
偏函数的使用是将一个旧函数,为其参数添加默认值然后得到一个默认使用刚才添加的默认值参数的新函数。
偏函数
lambda函数

匿名函数的意思是他是一个函数,但是他没有名字,当然也可以把lambda的结果赋予一个变量,那么那个变量也就能变成一个函数了。
举例: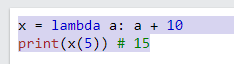
以这节课的代码举例:soloBtn.toggled.connect(lambda val: self.onSolo.emit(val)) 当按钮被激活时就直接使用lambda函数,不需要再定义函数了,按钮被激活就传入True(也就是val,val是形参),然后方法是 self.onSolo.emit(val) 这里的onSolo是之前的自定义的信号,emit是发送的意思,意思是向槽发送的数值。当信号进行emit时,就会执行这个信号所连接的函数,并且发送emit的参数。
isinstance函数与basestring函数
isinstance() 函数来判断一个对象是否是一个已知的类型,类似 type()。
如果要判断两个类型是否相同推荐使用 isinstance()。
isinstance(obj, basestring) 等价于 isinstance(obj, (str, unicode))。
pynode
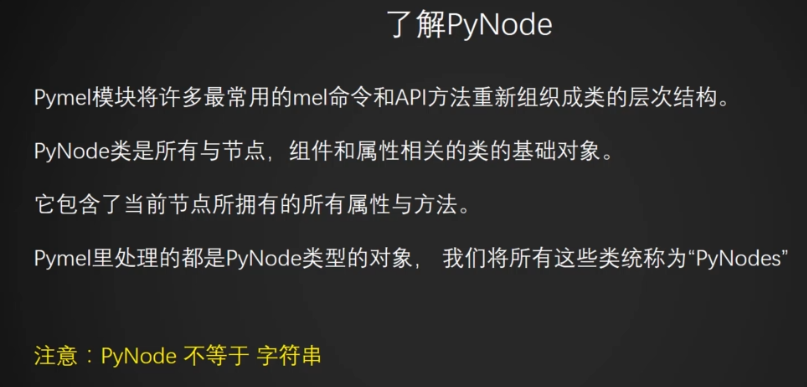
因此如果是在maya中通过鼠标点击创建的灯光需要通过PyNode转化成PyNode类型
if isinstance(light, basestring):
light = pm.PyNode(light) # 将不是通过pymel创建的灯光也转化为PyNode类型
scrollWidget

删除UI控件的方法
def deleteLight(self):
# 当删除灯光的同时也需要删除控件
self.setParent(None)
self.setVisible(False)
self.deleteLater()
获取控件中的所有子控件并操作
logging模块
https://blog.csdn.net/liuskyter/article/details/102657142?utm_medium=distribute.pc_relevant.none-task-blog-2~default~baidujs_title~default-1.pc_relevant_default&spm=1001.2101.3001.4242.2&utm_relevant_index=4
将Qt的UI窗口和MAYA绑定到一起(窗口可以内嵌到maya中)并可以设置停靠地点
详情看代码中的getMayaMainWindow()和getDock(name=‘LightingManagerDock’)和deleteDock(name=‘LightingManagerDock’)
其中LightingManagerDock代表为控件起的名字来代表控件。 name是一个变量,是为了方便查看以及方法内容的使用
shadingNode和pointLight与spotLight命令的区别:
maya自带的命令pointLight 和 spotLight命令都可以直接使用生成对应的灯光,并且生成的灯光结果是一个shape类型的
而使用shadingNode命令可以生成areaLight与volumeLight,生成的灯光的结果是transform类型的,这导致了以后的通过它来获取灯光类型形成了障碍。
代码
1 | import os |
.jpg?raw=true)
.jpg?raw=true)
.jpg?raw=true)
.jpg?raw=true)
.jpg?raw=true)